
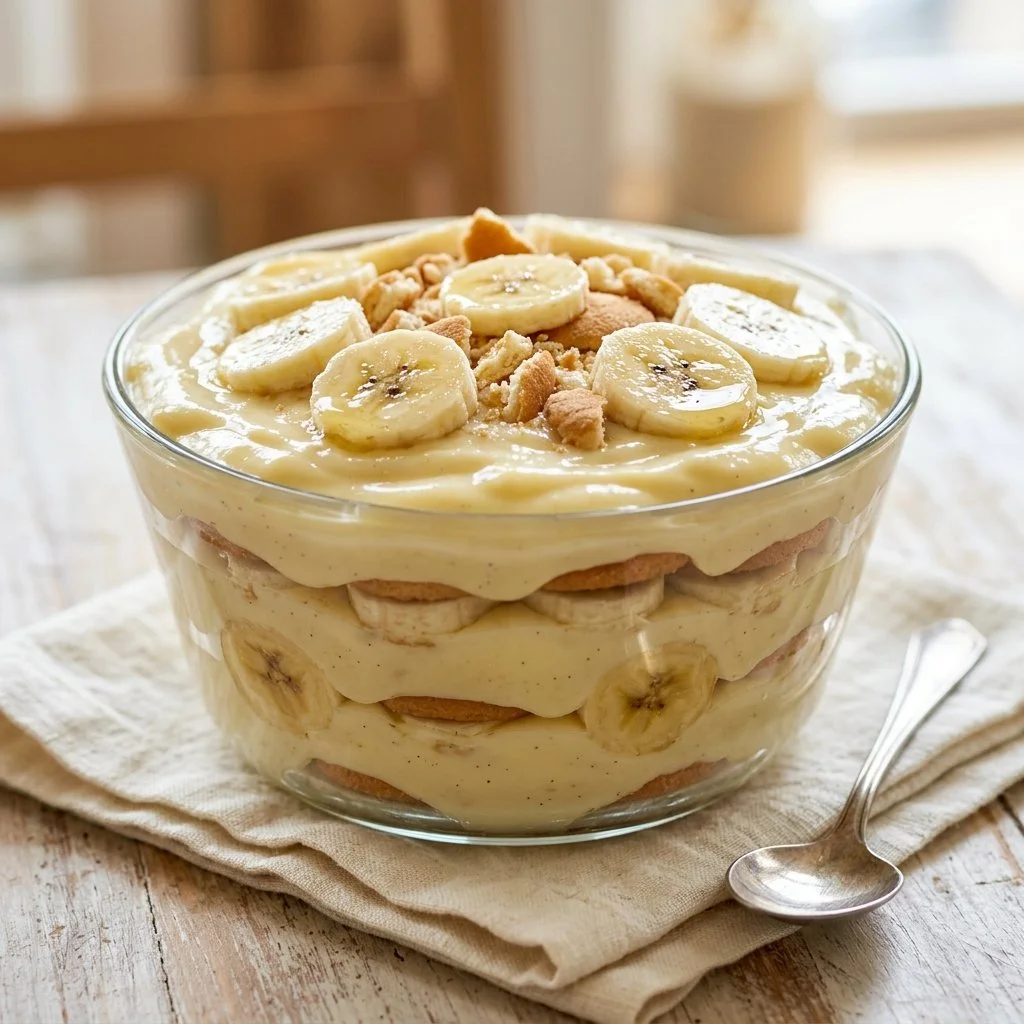
There’s something utterly magical about a dessert that transports you back to your childhood. For me, Magnolia Bakery’s Banana Pudding holds that special place. The creamy, dreamy layers of silky pudding, fresh banana slices, and crunchy vanilla wafers beckon not just my taste buds but also memories of sunlit afternoons spent in the company of family and friends. Each spoonful reminds me of laughter, warmth, and simple pleasures. It’s a recipe that never fails to charm and delight, making it a staple at every family gathering.
Recipe Timing
- Prep Duration: 20 minutes
- Active Cooking: 10 minutes
- Total Duration: 4 hours (plus chilling time)
- Portion Size: Serves about 8
- Complexity: Simple
Nutritional Recipe
- Calories per portion: Approximately 380 calories
- Protein: 5 grams
- Carbs: 63 grams
- Fats: 15 grams
- Fiber: 1 gram
- Sugars: 34 grams
- Sodium: 90 mg
Why You’ll Love This Magnolia Bakery Banana Pudding
This isn’t just any banana pudding—it’s a tribute to culinary nostalgia. The balance of flavors strikes just the right chord between sweet and creamy, while the textures create a delightful contrast. The heaviness of the whipped cream combines beautifully with the sweetness of the condensed milk, creating a luxurious pudding that envelops the fresh bananas. Just like every great dessert, it’s the little details that make it shine: the crunchy vanilla wafers that soften perfectly, the rich aroma of vanilla wafting through the air, and that unmistakably uplifting bite of fresh banana. You’ll be left wanting more, and each batch will only deepen your love for this classic recipe.
The Complete Cooking Journey
Crafting this luscious pudding involves several straightforward steps, each adding to the joy of preparing this favorite treat. Get ready to whip, layer, and chill your way to banana pudding perfection!
Ingredients:
- 2 cups heavy cream
- 1 cup sweetened condensed milk
- 1 teaspoon vanilla extract
- 4 ripe bananas, sliced
- 1 package vanilla wafers
- 1 additional banana for garnish
Method:
Step 1: Whip the Heavy Cream
In a large bowl, whip the heavy cream until stiff peaks form. This is where the magic begins—transforming the cream into fluffy clouds that will elevate your pudding to another level.
Step 2: Combine the Cream Mixture
In another bowl, combine the sweetened condensed milk with the vanilla extract. The sweetened milk will create a rich base for our pudding, while the vanilla adds that warm, familiar flavor.
Step 3: Fold in the Whipped Cream
Gently fold the whipped cream into the condensed milk mixture. This step is crucial—be gentle to keep the mixture airy and light. You want the pudding to be creamy without losing its delightful fluffiness.
Step 4: Start Building Layers
Layer the bottom of a serving dish with the vanilla wafers. These crunchy gems will provide a wonderful contrast to the soft pudding and bananas.
Step 5: Add Sliced Bananas
Next, add a layer of sliced bananas on top of the wafers. Use ripe bananas; they bring the perfect sweetness and flavor to the pudding.
Step 6: Pour the Pudding Mixture
Pour some of the pudding mixture over the bananas and wafers. Ensure even coverage to allow each layer to meld beautifully.
Step 7: Repeat the Layers
Repeat the layers until all your ingredients are used up, finishing with a layer of pudding on top. This creates a stunning visual for your dessert!
Step 8: Chill and Set
Chill your dessert in the refrigerator for at least 4 hours, or even better, overnight. This allows the flavors to marry and the pudding to set, making for a wonderfully satisfying treat.
Step 9: Garnish and Serve
Before serving, garnish with additional banana slices. This will add a lovely visual touch and an extra hit of freshness!
Serving Suggestions & Pairings
Magnolia Bakery Banana Pudding is delightful on its own, but it pairs beautifully with a cup of tea or coffee for a cozy afternoon treat. For an added touch, serve it alongside a slice of classic chocolate cake or a scoop of vanilla ice cream for a lovely dessert spread.
Storage & Leftovers Guide
Store any leftover banana pudding in an airtight container in the refrigerator. It’s best enjoyed within 2-3 days to keep the wafers from becoming too soggy. While the pudding will still taste wonderful, the texture will change as it sits.
Kitchen Wisdom & Success Tips
- Choose the Right Bananas: For the best flavor and texture, look for ripe bananas that are firm but not overly mushy.
- Get Creative with Toppings: Try crushed nuts or shaved chocolate for an unexpected twist.
- Don’t Rush the Chill: Allowing the pudding to refrigerate for a full 4 hours or overnight creates a creamier, more cohesive dessert.
Flavor Variations & Adaptations
Feel free to make this classic recipe your own! Add a layer of peanut butter between the banana slices, or experiment with different flavored wafers, such as chocolate for a richer experience. You might also consider adding spices like cinnamon or nutmeg for unique flavor notes.
Reader Questions & Solutions
-
Can I use light whipped cream? While you can use a lighter version, it may not hold up as well. Full-fat cream gives the best results.
-
What if I can’t find vanilla wafers? You can substitute with other plain cookies, such as ladyfingers or graham crackers, though the flavor might differ slightly.
-
Can I make this dairy-free? Yes! Substitute coconut cream and a dairy-free condensed milk alternative for a delicious non-dairy version.
-
How can I prevent the bananas from browning? Toss the banana slices in a little lemon juice to keep them bright and fresh.
-
Can I freeze banana pudding? It’s best enjoyed fresh, but if you do freeze it, plan for a change in texture once thawed.
Wrapping Up
Banana pudding isn’t just a dessert; it’s an experience that connects generations, bringing joy and comfort with each spoonful. I hope this recipe inspires you to create your own delightful layers of nostalgia! Gather your loved ones, whip up a batch, and relish every creamy bite together. Happy cooking!