
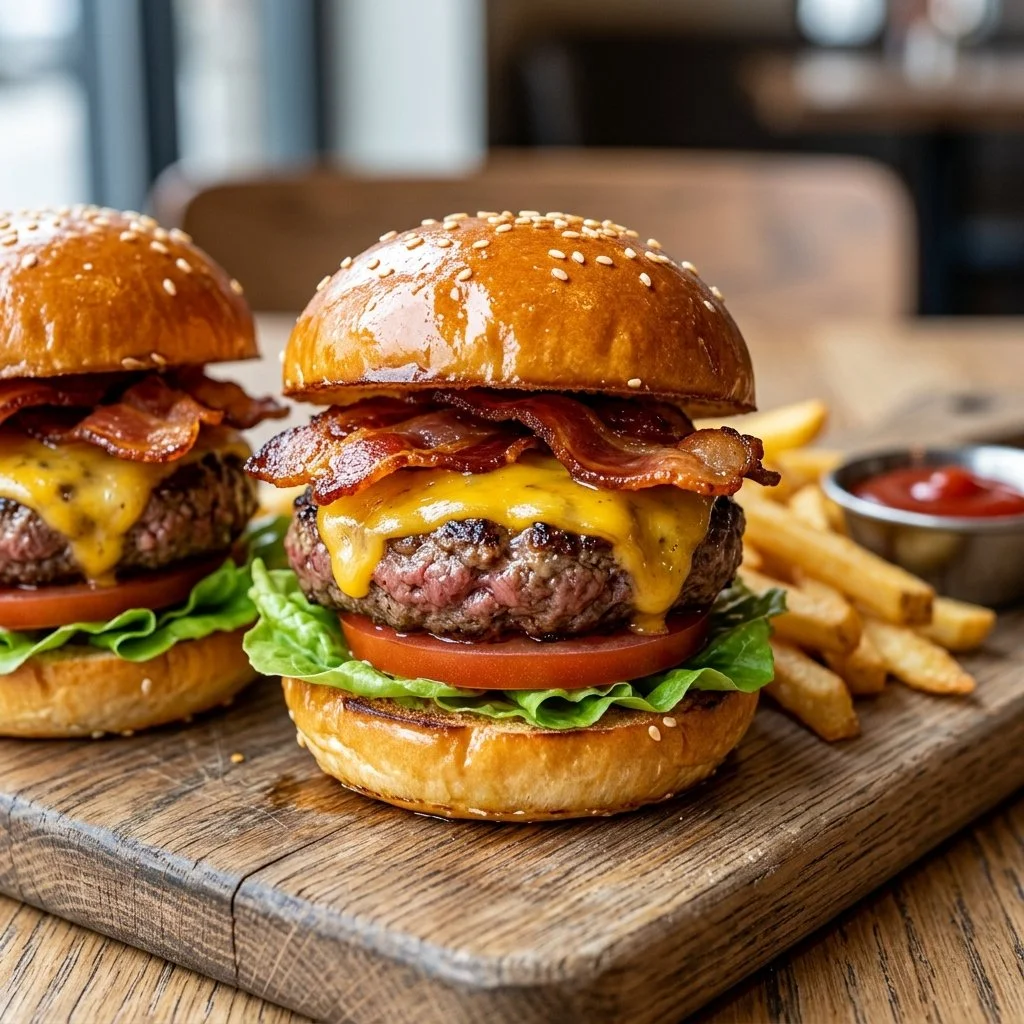
Imagine the sizzling sounds of bacon cracking in a hot skillet, the tantalizing aroma that fills the air, and the moment when melted cheese oozes off a perfectly cooked patty. If that doesn’t get your mouth watering, I don’t know what will! These Bacon Cheeseburger Sliders bring back memories of summer cookouts and lazy weekends, where the sheer joy of a good meal shared with friends makes every bite memorable. Let’s dive into creating these scrumptious little bites that are bound to be a hit at your next gathering!
Recipe Timing
- Prep Duration: 10 minutes
- Active Cooking: 10 minutes
- Total Duration: 20 minutes
- Portion Size: Serves 8 sliders
- Complexity: Simple
Nutritional Recipe
- Calories per portion: ~350 calories
- Protein: 20 grams
- Carbs: 28 grams
- Fats: 22 grams
- Fiber: 1 gram
- Sugars: 2 grams
- Sodium: 600 mg
Why You’ll Love This Bacon Cheeseburger Sliders
These sliders perfectly marry the hearty flavors of a classic cheeseburger with the crispness of bacon, all packed into a bite-sized treat. Whether you’re hosting a game day party or simply enjoying a cozy night in, these sliders bring a burst of flavor that pleases everyone at the table. Plus, who can resist the delightful crunch of bacon with melty cheese? Each slider is a mini celebration, ensuring there’s room for more than one.
The Complete Cooking Journey
The first step to slider paradise begins with some ground beef, seasoned simply yet effectively to highlight its natural flavors. As you form those small patties, picturing those warm, slider buns awaiting their cheesy embrace, the excitement builds. Cooking the patties to perfection, layering the bacon and cheese, and finally assembling the sliders is a straightforward yet rewarding process. As they come together, you’ll find yourself dreaming of all the delicious toppings you could add!
Ingredients:
- 1 pound ground beef
- 8 slices bacon
- 8 slices cheddar cheese
- Slider buns
- Salt and pepper to taste
- Optional toppings: pickles, onions, lettuce, ketchup, mustard
Method:
Step 1: Preheat Your Grilling Station
Begin by preheating the grill or a skillet over medium heat, allowing it to reach that golden temperature perfect for searing. A hot surface ensures a caramelized exterior while keeping the juicy interiors intact.
Step 2: Form the Perfect Patties
Take the ground beef and form it into small patties. These should be about the size of your slider buns for the ultimate fit! Don’t forget to season them generously with salt and pepper, enhancing the beefy goodness.
Step 3: Cook Those Delicious Patties
Place the formed patties onto the grill or skillet and let them cook for 3-4 minutes on each side. You want them to reach your desired doneness, whether that’s medium-rare or well-done.
Step 4: Layer on the Bacon and Cheese
During the last minute of cooking, layer each patty with a decadent slice of crispy bacon and a melted slice of cheddar cheese. The heat will coax the cheese into a gooey state of cheesy bliss as it envelops the savory patty.
Step 5: Assemble and Enjoy
Finally, gather your slider buns and assemble your creations! Place each cheesy patty on a bun, then let your creative juices flow with any additional toppings you’d like—be it tangy pickles, crunchy lettuce, zesty onions, or your favorite condiments.
Serving Suggestions & Pairings
These sliders are perfect alongside classic sides like crispy fries or a fresh salad. You could even whip up some sweet potato fries or a creamy coleslaw for a heartier meal. Don’t forget a tall glass of soda or an ice-cold beer to wash it all down!
Storage & Leftovers Guide
If you happen to have leftovers (which is rare!), store the individual components in airtight containers. The cooked patties can last in the refrigerator for about 3 days, while uncooked bacon should always go in the fridge and lasts until the expiration date. Reheat in the microwave or skillet for a quick meal!
Kitchen Wisdom & Success Tips
- Make sure your grill or skillet is hot to avoid sticking and ensure that delicious sear.
- Try mixing a little Worcestershire sauce into the ground beef before forming patties for an umami boost.
- If you want to keep it healthier, consider using lean ground beef or turkey.
Flavor Variations & Adaptations
Feel free to experiment with different cheeses! Pepper jack, gouda, or even blue cheese can add a unique twist. For a spicy kick, toss some jalapeños or sriracha into your toppings. If you’re looking to go meatless, black bean patties are an excellent alternative.
Reader Questions & Solutions
-
Q: How do I know when my burger is done?
A: Use a meat thermometer; 160°F is the safe internal temperature for beef. -
Q: Can I make the patties ahead of time?
A: Absolutely! Form the patties and refrigerate them for up to 24 hours before cooking. -
Q: What if I don’t have slider buns?
A: You can use any small bread rolls or even cut larger buns into quarters. -
Q: How do I prevent my sliders from getting soggy?
A: Lightly toast the buns before assembling. This creates a barrier and keeps them crispy! -
Q: Can I freeze the sliders?
A: Yes! Freeze the uncooked patties on a tray, then transfer to a freezer bag for up to 3 months.
Wrapping Up
So there you have it—a delightful journey into the world of Bacon Cheeseburger Sliders! As you savor each little bite bursting with flavor, remember that food is all about sharing joy with family and friends. You’re not just cooking; you’re creating memories, laughter, and a connection around the dining table. Cheers to delicious meals and wonderful company! Happy cooking!