
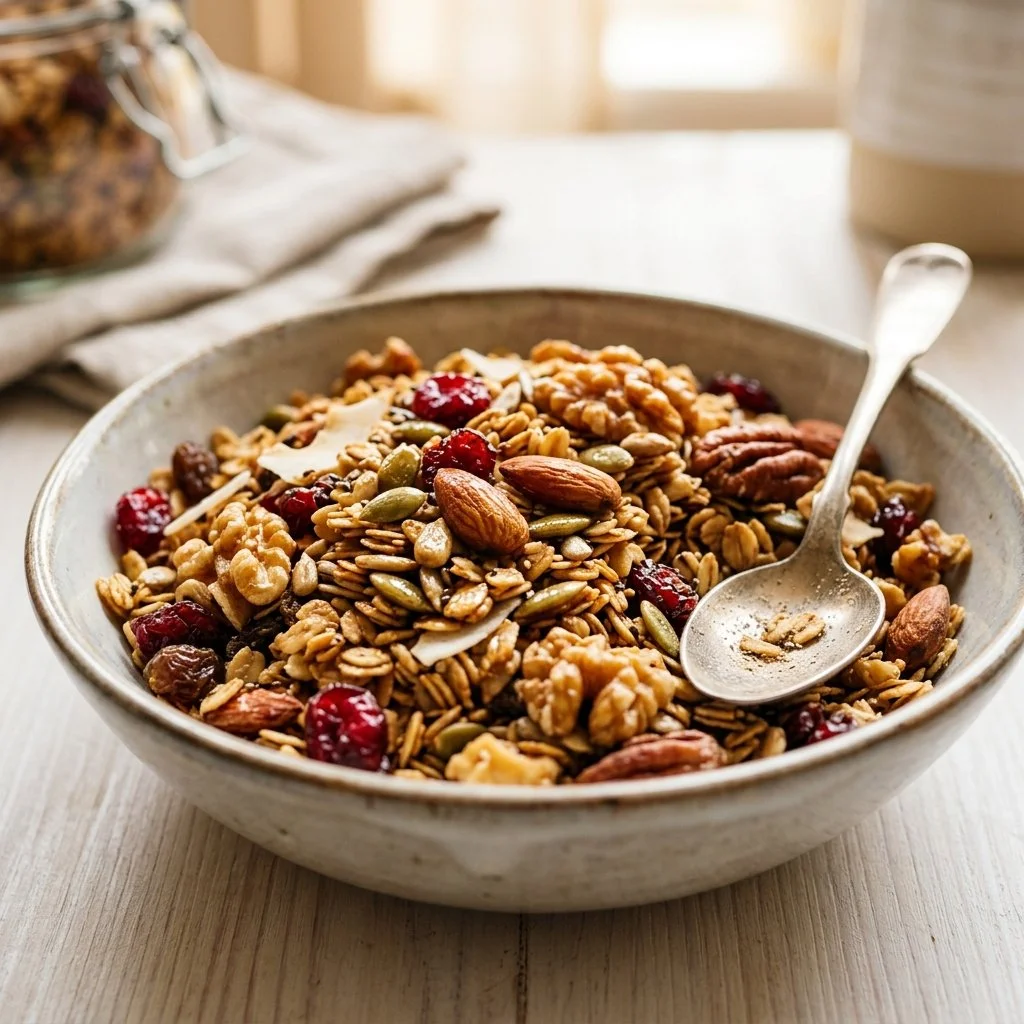
There’s something undeniably comforting about the smell of freshly baked granola wafting through the kitchen. It conjures memories of lazy Sunday mornings, where the sun lazily spills through the window, inviting you to take a moment to savor the simple pleasures in life. My love for granola began years ago, when I first discovered the art of crafting this delightful mix of oats, nuts, and dried fruits. It was a game changer—not just for breakfast but also as a healthy snack that kept me energized during those hectic days of work and life.
Now, making homemade granola is a cherished ritual in my home, a time when I can embrace creativity and play with flavors, while also ensuring I know exactly what goes into my food. It’s easy, satisfying, and endlessly customizable—perfect for those moments when you want to nourish your body without sacrificing flavor.
Recipe Timing
- Prep Duration: 10 minutes
- Active Cooking: 25 minutes
- Total Duration: 35 minutes
- Portion Size: About 12 servings
- Complexity: Simple
Nutritional Recipe
- Calories per portion: Approximately 200
- Protein: 5 grams per serving
- Carbs: 27 grams per serving
- Fats: 9 grams per serving
- Fiber: 3 grams per serving
- Sugars: 6 grams per serving
- Sodium: 95 mg per serving
Why You’ll Love This Homemade Granola
Imagine crispy, golden oats paired with the natural sweetness of honey or maple syrup, mixed with wholesome nuts and little nuggets of chewy dried fruits. This homemade granola not only provides a hearty breakfast but can also be sprinkled over yogurt, enjoyed as a snack, or even used as a topping for desserts. Best of all? You can tailor it to your taste preferences—whether that’s adding coconut flakes for a tropical twist, or a dash of cocoa powder for a chocolatey indulgence, the choices are limitless!
The Complete Cooking Journey
Cooking is as much about the journey as it is about the end product. As you embark on this homemade granola adventure, you’ll find satisfaction in every step—from gathering your ingredients to the enchanting aroma of baking oats to the final delightful crunch. Let’s dive in!
Ingredients:
- 2 cups rolled oats
- 1 cup nuts (e.g., almonds, walnuts)
- 1/2 cup honey or maple syrup
- 1/2 cup coconut oil
- 1 cup dried fruits (e.g., raisins, cranberries)
- 1 teaspoon vanilla extract
- 1/2 teaspoon salt
- 1/2 teaspoon cinnamon (optional)
Method:
Step 1: Preheat the Oven
Preheat your oven to 350°F (175°C) to prepare for the toasty magic about to happen.
Step 2: Mix the Dry Ingredients
In a large bowl, mix the rolled oats, nuts, salt, and cinnamon. This step is where you can let your creativity shine—choose your favorite nuts or add a sprinkle of seeds for extra crunch!
Step 3: Melt the Sweeteners
In a small saucepan over low heat, combine the honey (or maple syrup) and coconut oil, stirring until melted. The warm mixture brings out an incredible aroma and blends the flavors perfectly.
Step 4: Combine with Vanilla Essence
Add the vanilla extract to the mixture and pour it over the dry ingredients. Mix until well combined, ensuring everything is coated in the sweet, buttery mixture.
Step 5: Spread and Bake
Spread the mixture evenly on a baking sheet, making sure to create a thin layer for that perfect crunch.
Step 6: Bake to Golden Perfection
Bake for 20-25 minutes, stirring halfway through, until golden brown. Keep an eye on it, as those oats can go from lovely to burnt in the blink of an eye!
Step 7: Cool Down
Remove from the oven and let it cool. This is the moment to breathe in that heavenly scent and let your anticipation grow.
Step 8: Final Touch
Once cooled, add the dried fruits. This step not only adds sweetness but also offers delightful chewy bites that complement the crunchy oats.
Step 9: Store Your Creation
Store in an airtight container to keep your granola fresh. I often find that it never lasts long, but if stored properly, it can be enjoyed for weeks!
Serving Suggestions & Pairings
Homemade granola shines on its own, but it can play many roles! Serve it with your favorite yogurt topped with fresh berries for a quick breakfast or sprinkle it on a smoothie bowl for a delightful crunch. It’s also perfect for snacking on the go—just grab a handful when hunger strikes!
Storage & Leftovers Guide
To keep your granola fresh, store it in an airtight container at room temperature. It should stay good for about 2 weeks, although it rarely lasts that long in my house—it’s too good to resist!
Kitchen Wisdom & Success Tips
- Customize It: Play with different nuts, seeds, or sweeteners to match your preferences.
- Watch the Oven: Keep an eye on your granola while baking; stir it frequently for even browning.
- Add Freshness: For a delightful twist, consider adding spices like nutmeg or cardamom.
- Make It Chocolatey: Stir in some cocoa powder for a chocolate granola treat!
- Don’t Rush Cooling: Allow it to cool completely to achieve that perfect crunch.
Flavor Variations & Adaptations
Feeling adventurous? Try adding spices like pumpkin spice for a seasonal twist or incorporating nut butter for an added richness. You can even make it gluten-free by opting for certified gluten-free oats!
Reader Questions & Solutions
-
What can I substitute if I’m allergic to nuts?
- You can use seeds like pumpkin or sunflower seeds as a nut alternative.
-
Can I make granola without oil?
- Yes, you can use applesauce or mashed bananas as a lower-fat substitute.
-
How do I make it clumpier?
- Incorporating a bit more liquid sweetener and pressing it firmly onto the baking sheet can help create granola clusters.
-
What can I do if my granola is too hard?
- If it turns out too hard, try adding a little water and reheating gently to soften it up.
-
Can I include fresh fruits?
- It’s best to add fresh fruits when serving, as they can cause the granola to spoil faster when mixed in.
Wrapping Up
Making homemade granola is not just about food; it’s about reconnecting with simple joys, nourishing your body, and sharing delightful treats with loved ones. So gather your ingredients and embark on this flavorful journey—your taste buds will thank you! Whether you enjoy it at breakfast, as a snack, or sprinkled atop desserts, this homemade concoction will undoubtedly become a staple in your kitchen. Happy cooking!