
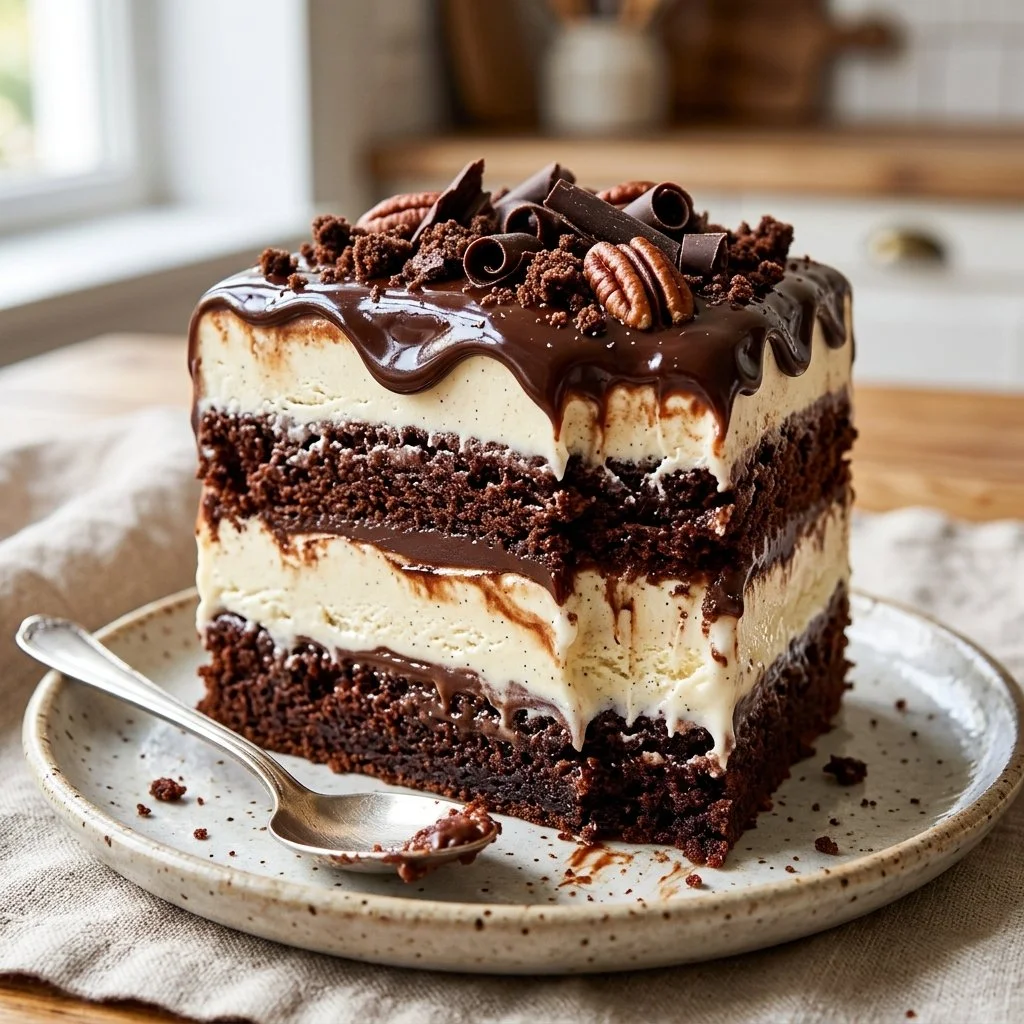
There’s something magical about dessert in the summer. The warm sun, the sound of laughter, and the sweet taste of ice cream are the perfect trio for creating lasting memories. One of my favorite ways to bring smiles and laughter is with a stunning Ice Cream Cake. Growing up, my birthday festivities always featured this delightful dessert, a beautiful blend of cake and everyone’s favorite frozen treat. Each slice revealed colorful layers and exciting flavors, turning the act of cutting the cake into a mini-event of its own. As adults, we may find ourselves reminiscing about those carefree days, and what better way to celebrate than by recreating this nostalgic treat?
Recipe Timing
- Prep Duration: 30 minutes
- Active Cooking: 15 minutes
- Total Duration: 4 hours, 30 minutes (including freezing time)
- Portion Size: Serves 10
- Complexity: Simple
Nutritional Recipe
- Calories per portion: Approximately 300
- Protein: 5 grams
- Carbs: 45 grams
- Fats: 15 grams
- Fiber: 0 grams
- Sugars: 25 grams
- Sodium: 150 mg
Why You’ll Love This Ice Cream Cake
Ice Cream Cake is the ultimate crowd-pleaser and also a canvas for creativity. You can mix and match flavors, dress it up with seasonal fruits, and decorate it with vibrant sprinkles. It’s a dessert that not only satisfies but also engages everyone in the preparation. From the moment you start layering the cake and ice cream to the joy of that first scoop, every step is bound to bring a smile.
The Complete Cooking Journey
Creating an Ice Cream Cake is straightforward, making it ideal for family gatherings or casual summer barbecues. Here’s the fun part: you have the freedom to choose various flavors of ice cream and cake, ensuring that there’s something for everyone. You’ll have your loved ones gathering in the kitchen, sharing stories and laughter while you assemble this delicious masterpiece.
Ingredients:
- Ice cream (various flavors)
- Cake (store-bought or homemade)
- Whipped cream
- Chocolate sauce
- Sprinkles
- Fruit (optional, e.g., strawberries or bananas)
Method:
Step 1: Softening the Ice Cream
Start by softening the ice cream slightly. Take it out of the freezer and let it sit for about 10-15 minutes until it’s easier to scoop. This step is crucial for spreading a smooth layer in your cake.
Step 2: Preparing Your Cake Layers
Prepare your cake layers by baking them from scratch or using your favorite store-bought variety. If you’re baking at home, let the cakes cool completely before assembling.
Step 3: Layering Your Creation
In a cake pan, first, layer the cake down. Once the cake layer is in place, add a generous layer of softened ice cream on top.
Step 4: Building the Layers
Repeat the layers of cake and softened ice cream until you reach the top of the pan. Feel free to get creative and mix different flavors throughout!
Step 5: Freezing the Cake
To set your cake, freeze the creation for at least 4 hours. This step is key to achieving the perfect texture, holding everything together for when you’re ready to serve.
Step 6: Frosting with Whipped Cream
Once set, carefully remove the cake from the pan. Frost the top and sides with whipped cream, making sure it looks inviting and indulgent.
Step 7: Adding the Finishing Touches
Drizzle chocolate sauce on top of the cake and add sprinkles or your favorite fruits as a delightful decoration.
Step 8: Slicing and Serving
Slice the cake and serve it cold! Enjoy the colorful layers and the stories they inspire with every bite.
Serving Suggestions & Pairings
Pair this irresistible Ice Cream Cake with fresh fruit salad or a refreshing iced tea for a balance of sweetness and tartness. Use seasonal fruits that complement your chosen ice cream flavors to elevate this dessert even further!
Storage & Leftovers Guide
If you have leftovers (which is always a possibility with this indulgent treat), store the cake in an airtight container in the freezer. It will keep well for up to two weeks. Just be sure to let it thaw for a few minutes on the counter before serving again.
Kitchen Wisdom & Success Tips
- Ensure your ice cream is soft enough to spread easily, but do not let it melt completely.
- Use a cake pan that has a removable bottom for easy release.
- If your cake layers are too tall, trim them to fit your cake pan without overflowing.
Flavor Variations & Adaptations
Get creative with flavors! Consider using chocolate cake with mint chocolate chip ice cream for a refreshing minty twist or vanilla cake with strawberry ice cream for a fruity flair. You can even experiment with different toppings like caramel sauce or crushed nuts for added texture.
Reader Questions & Solutions
- Can I use store-bought ice cream? Yes, using store-bought ice cream will save you time and is just as delicious!
- How can I make this more chocolatey? Use chocolate cake and chocolate ice cream, and add layers of chocolate fudge between the layers.
- What if I can’t find the flavors I want? Don’t hesitate to mix flavors or substitute similar ones to create your perfect combination.
- Can I use gluten-free cake? Absolutely! There are many wonderful gluten-free cakes available for your ice cream cake base.
- How do I make the whipped cream hold its shape? If you plan on decorating with whipped cream, consider adding a stabilizer like cornstarch or gelatin.
Wrapping Up
This Ice Cream Cake is not only a tasty treat; it’s a celebration of flavors, colors, and memories waiting to be created. I invite you to gather your friends and family, dive into the joyful process of assembling this iconic dessert, and savor each delicious slice together. Enjoy the happiness it brings, and remember: in the kitchen, moments like these are the sweetest of all. Happy baking!