
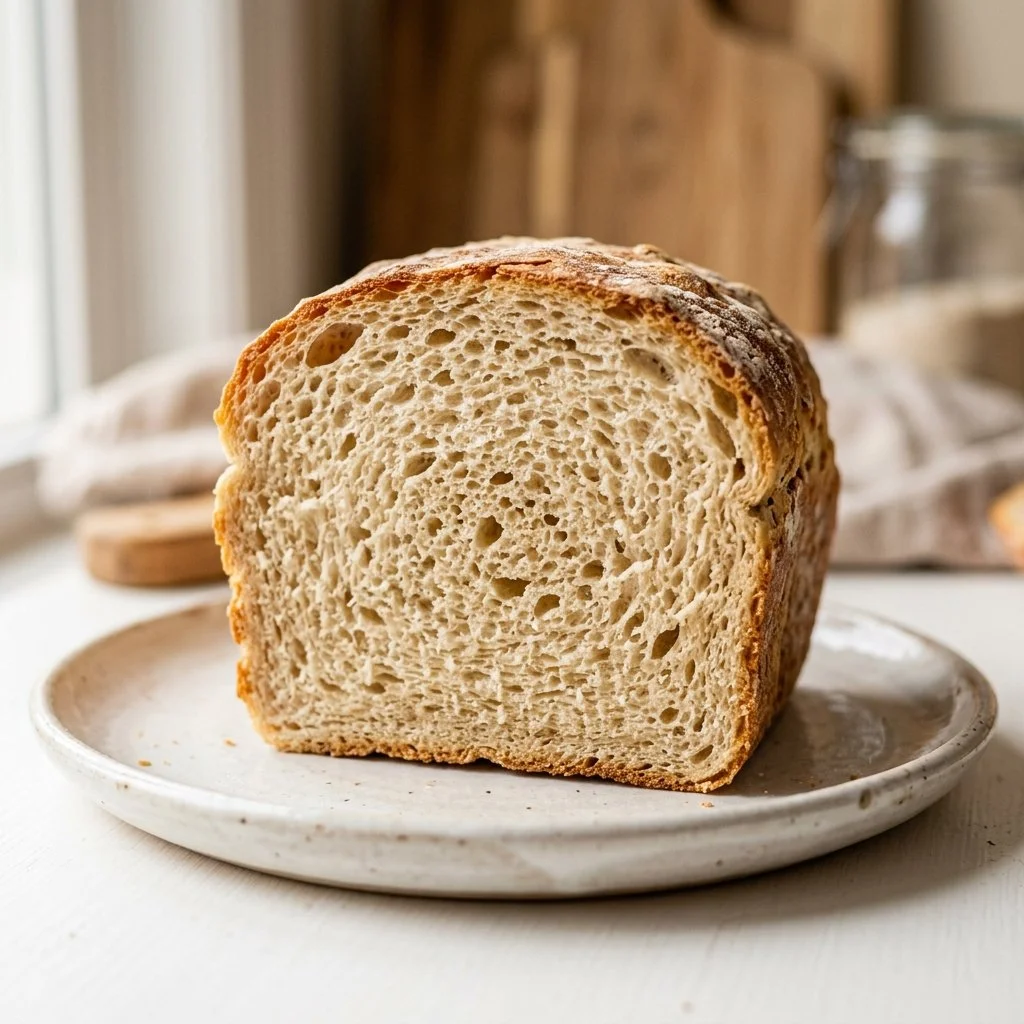
There’s something truly magical about the aroma of freshly baked bread wafting through the house. It conjures up memories of family gatherings, cozy weekends, and the comfort of a warm slice slathered with butter. Baking bread is not just a culinary act; it’s a ritual that transforms simple ingredients into something profoundly nourishing that feeds both the body and the soul. Today, I’d like to share a recipe that has become a staple in my kitchen—Classic Sandwich Bread.
Recipe Timing
- Prep Duration: 20 minutes
- Active Cooking: 30 minutes
- Total Duration: 2-3 hours (including rising time)
- Portion Size: 1 loaf (about 12 slices)
- Complexity: Simple
Nutritional Recipe
- Calories per portion: Approx. 130
- Protein: 4 g
- Carbs: 24 g
- Fats: 2 g
- Fiber: 1 g
- Sugars: 1 g
- Sodium: 140 mg
Why You’ll Love This Classic Sandwich Bread
There’s nothing quite like the taste of homemade bread. This Classic Sandwich Bread is soft, fluffy, and boasts a crunchy crust that balances perfectly with a tender interior. Whether you’re crafting a turkey club, a classic PB&J, or simply enjoying it with a smear of jam, this bread’s reliability will make it your go-to. Plus, the simple ingredients mean that you likely have everything at home, making it an everyday solution for busy lives.
The Complete Cooking Journey
Baking bread may feel like a daunting task, but I promise you, it’s one of the most rewarding experiences in the kitchen. The journey begins with a simple mix of yeast and sugar into warm water, creating a frothy base for your dough. Adding flour is where the magic begins, as you watch a sticky mixture transform into a soft dough through the rhythm of your hands kneading. A rest, a rise, and soon you’ll be placing a golden loaf into your oven. The smell? Pure bliss.
Ingredients:
- 4 cups all-purpose flour
- 2 1/4 teaspoons active dry yeast
- 1 1/2 teaspoons salt
- 2 tablespoons sugar
- 1 1/2 cups warm water
- 2 tablespoons olive oil
Method:
Step 1: Activate the Yeast
In a large bowl, combine warm water, sugar, and yeast. Let it sit for 5-10 minutes until frothy. This step is crucial as it wakes the yeast up and gets it ready to work its magic.
Step 2: Mix in the Oils and Salt
Add olive oil and salt to the yeast mixture, then gradually incorporate the all-purpose flour, mixing until a dough forms. You should start to see everything coming together into a ball.
Step 3: Knead the Dough
Turn the dough out onto a floured surface and knead it for about 10 minutes until smooth. This is your chance to give the bread life through your hands! The dough should become elastic and slightly tacky but not sticky.
Step 4: Let it Rise
Place the kneaded dough in a greased bowl, cover it, and let it rise in a warm place for 1-2 hours until doubled in size. This is the time for the yeast to work its wonders!
Step 5: Shape the Dough
Once risen, punch down the dough to release any air bubbles. Shape it into a loaf and place it in a greased loaf pan. This shaping is key to ensuring your bread has a beautiful shape when baked.
Step 6: Second Rise
Cover the loaf pan and let it rise again for another 30-45 minutes. It’s crucial for the final bread texture that this second rise occurs.
Step 7: Preheat the Oven
While the bread is rising, preheat your oven to 375°F (190°C).
Step 8: Bake the Bread
Once the dough has risen, bake for 25-30 minutes, or until the bread is golden brown and sounds hollow when tapped on the bottom. That sound is music to a baker’s ears!
Step 9: Cool Before Slicing
Let the bread cool before slicing to allow the structure to set. The wait is agonizing, but trust me, it’s worth it!
Serving Suggestions & Pairings
This Classic Sandwich Bread is versatile! Pair it with fresh deli meats for a delicious sandwich, spread some avocado for brunch, or simply toast it for breakfast. It also makes excellent grilled cheese or French toast!
Storage & Leftovers Guide
To store, wrap the cooled loaf in plastic wrap or foil and keep it at room temperature for up to 3 days. For longer freshness, slice and freeze individual pieces for up to 3 months. Just pop them in the toaster for a great snack!
Kitchen Wisdom & Success Tips
- Ensure your water is warm but not too hot—around 110°F (43°C) is perfect for proofing yeast.
- Kneading is key! Don’t rush this step; it develops the gluten necessary for a good rise and structure.
- Experiment with add-ins! Herbs, cheese, or nuts can create unique flavors.
Flavor Variations & Adaptations
Feel free to swap all-purpose flour for whole wheat for a nuttier flavor. You can even add seeds for an extra crunch!
Reader Questions & Solutions
-
Why is my bread not rising? Ensure your yeast is fresh and your water is warm enough. Too cold won’t activate the yeast effectively.
-
Can I use instant yeast instead of active dry? Yes! Use the same amount and there’s no need for proofing.
-
What if my bread is too dense? This could be due to too much flour. Ensure your measurements are accurate and avoid adding excessive flour while kneading.
-
Can I knead the dough using a stand mixer? Absolutely! Use the dough hook attachment, starting on low and gradually increasing the speed.
-
What’s the best way to tell if my bread is done? Tap the bottom; if it sounds hollow, it’s perfect! A thermometer inserted in the center should read around 190°F (88°C).
Wrapping Up
Baking your bread at home doesn’t just deliver delicious results; it’s an experience filled with sensory joy. With this Classic Sandwich Bread recipe, you have the perfect foundation for countless meals. So, roll up your sleeves, allow the dough to rise, and savor every slice. Happy baking!