
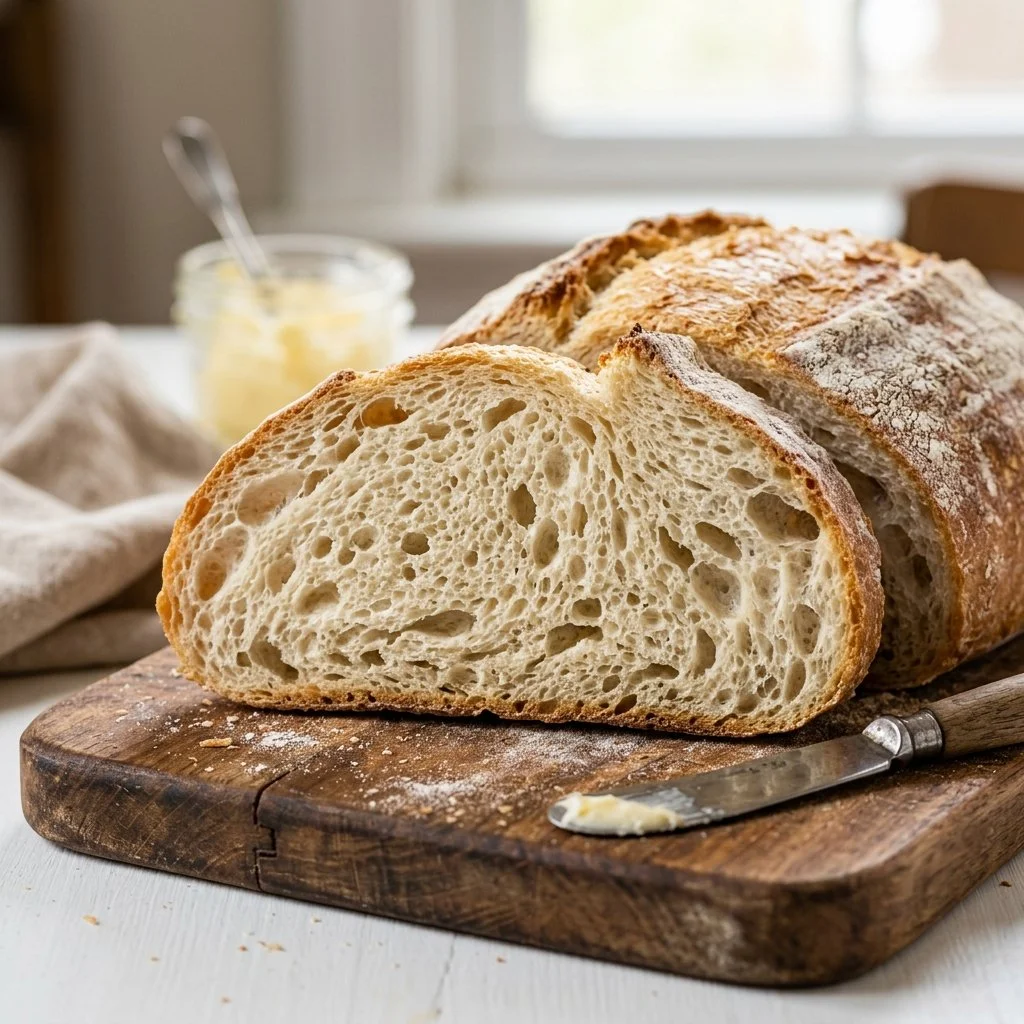
There’s something magical about the aroma of freshly baked bread wafting through your home. It’s a comfort that harks back to many cherished memories: the sound of laughter in the kitchen, warm conversations over simple meals, and the feel of soft, pillowy bread that hugs your soul with every bite. I remember the first time I tried my hand at baking bread; I was a young cook, nervously measuring flour and mixing with trembling hands. The kitchen quickly filled with a fragrant warmth, and as the loaf baked, I could hardly contain my excitement. The moment I pulled that golden-brown wonder from the oven, I knew I’d unlocked a treasure that would forever charm my family and friends—and now it can charm yours too.
Recipe Timing
- Prep Duration: 15 minutes
- Active Cooking: 35 minutes
- Total Duration: 1 hour 50 minutes (including rising time)
- Portion Size: Serves 8-10
- Complexity: Simple
Nutritional Recipe
- Calories per portion: Approximately 150
- Protein: 4 grams
- Carbs: 28 grams
- Fats: 2 grams
- Fiber: 1 gram
- Sugars: 1 gram
- Sodium: 200 mg
Why You’ll Love This Homemade White Bread
This Homemade White Bread is the ultimate expression of domestic bliss. Fluffy on the inside and perfectly crusty on the outside, it transforms any meal into a feast. Toast it for breakfast with a pat of butter, use it for sandwiches packed with your favorite fillings, or simply enjoy it warm with a drizzle of honey. The simplicity of the ingredients doesn’t compromise on flavor; rather, it highlights the incredible transformation that happens in just a few short steps. Plus, the joy of kneading dough is not just therapeutic; it connects you to a tradition that spans cultures and generations.
The Complete Cooking Journey
Let’s walk through each step of creating this culinary masterpiece. It’s easier than you might think, and I promise the result will be worth your time and effort.
Ingredients:
- 4 cups all-purpose flour
- 2 tablespoons sugar
- 1 tablespoon salt
- 2 1/4 teaspoons active dry yeast
- 1 1/2 cups warm water (around 110°F/43°C)
- 2 tablespoons unsalted butter, melted
Method:
Step 1: Activate the Yeast
In a bowl, mix warm water with sugar and yeast. Allow it to sit for about 5-10 minutes until it becomes frothy and bubbly. This is your yeast waking up, ready to work its magic!
Step 2: Combine the Dry Ingredients
In a large mixing bowl, whisk together the flour and salt. This step ensures that the salt is well distributed throughout the flour, which is crucial for flavor.
Step 3: Mix Dough Ingredients
Pour the yeast mixture and melted butter into the flour mixture. Stir until a rough dough begins to form. You’re already halfway to creating something special!
Step 4: Knead the Dough
Turn the dough out onto a floured surface. Knead it for about 10 minutes until it becomes smooth and elastic, bringing your strength into play, and letting your stresses melt away.
Step 5: First Rise
Place the kneaded dough in a greased bowl, cover it, and let it rise in a warm area until it doubles in size—about 1 hour. If you have a warm oven, you can place it inside (turned off!), which makes for a great environment for yeast action.
Step 6: Preheat the Oven
Preheat your oven to 375°F (190°C). The anticipation begins!
Step 7: Form the Loaf
Once your dough has risen, punch it down to release the air. Shape it into a loaf and place it in a greased loaf pan.
Step 8: Second Rise
Cover the shaped loaf and let it rise again for about 30 minutes. This second rise allows your bread to develop a light texture and be even more delicious.
Step 9: Bake the Bread
Bake in the preheated oven for 30-35 minutes or until the bread is golden brown and sounds hollow when tapped on the bottom. Your house will be filled with an irresistible smell!
Step 10: Cooling Time
Once baked, let the bread cool before slicing. This final rest gives it a chance to lock in moisture, making every piece soft and delightful.
Serving Suggestions & Pairings
Slice this bread thick, and pair it with homemade soups, fresh salads, or simply enjoy it slathered with butter and jam. It makes an excellent base for a classic BLT or an elegant accompaniment to your favorite cheeses.
Storage & Leftovers Guide
Store your bread in an airtight container or bag at room temperature for up to 3 days. For longer storage, slice and freeze it; it will keep well for up to 3 months. To enjoy, simply toast slices directly from the freezer or let them thaw at room temperature.
Kitchen Wisdom & Success Tips
- Ensure your yeast is fresh. If it doesn’t foam, it’s old and won’t work.
- Kneading is your friend! A well-kneaded dough is the secret to a great rise.
- If your dough is too sticky, sprinkle a little more flour while kneading.
Flavor Variations & Adaptations
Feel free to switch up your bread by adding herbs, cheese, or spices. A sprinkle of garlic powder or fresh rosemary can make your homemade white bread even more unique. Or consider using whole wheat flour or adding seeds for a boost in nutrition.
Reader Questions & Solutions
- What if my dough doesn’t rise? Check the freshness of your yeast. If liquid isn’t bubbly, consider starting over with new yeast. Also, ensure your water isn’t too hot as this can kill the yeast.
- How can I tell when it’s done baking? It should be golden brown on top and sound hollow when you tap the bottom of the loaf. An instant-read thermometer should read 190°F when inserted into the middle.
- Can I double the recipe? Absolutely! Just be sure you have a large enough bowl for the dough to rise.
- What can I do with leftover bread? Homemade croutons, bread pudding, or French toast make fantastic use of leftover bread.
- Is it okay to substitute other flours? You can experiment with whole grain flours, but be aware that adjustments in liquid may be necessary, as they absorb moisture differently.
Wrapping Up
There’s a profound joy in baking bread that transcends the act of cooking—it’s a reminder of home, warmth, and the simple, beautiful moments in life. As you embark on this homemade white bread journey, be sure to take your time, enjoy the process, and savor the outcomes. Your kitchen will glow, your heart will swell, and your loved ones will thank you for every warm slice. Happy baking!